
Paver Maintenance Explained: 25+ Year Lifespan & Weed Control
- pkgbp02
- Mar 2
- 9 min read

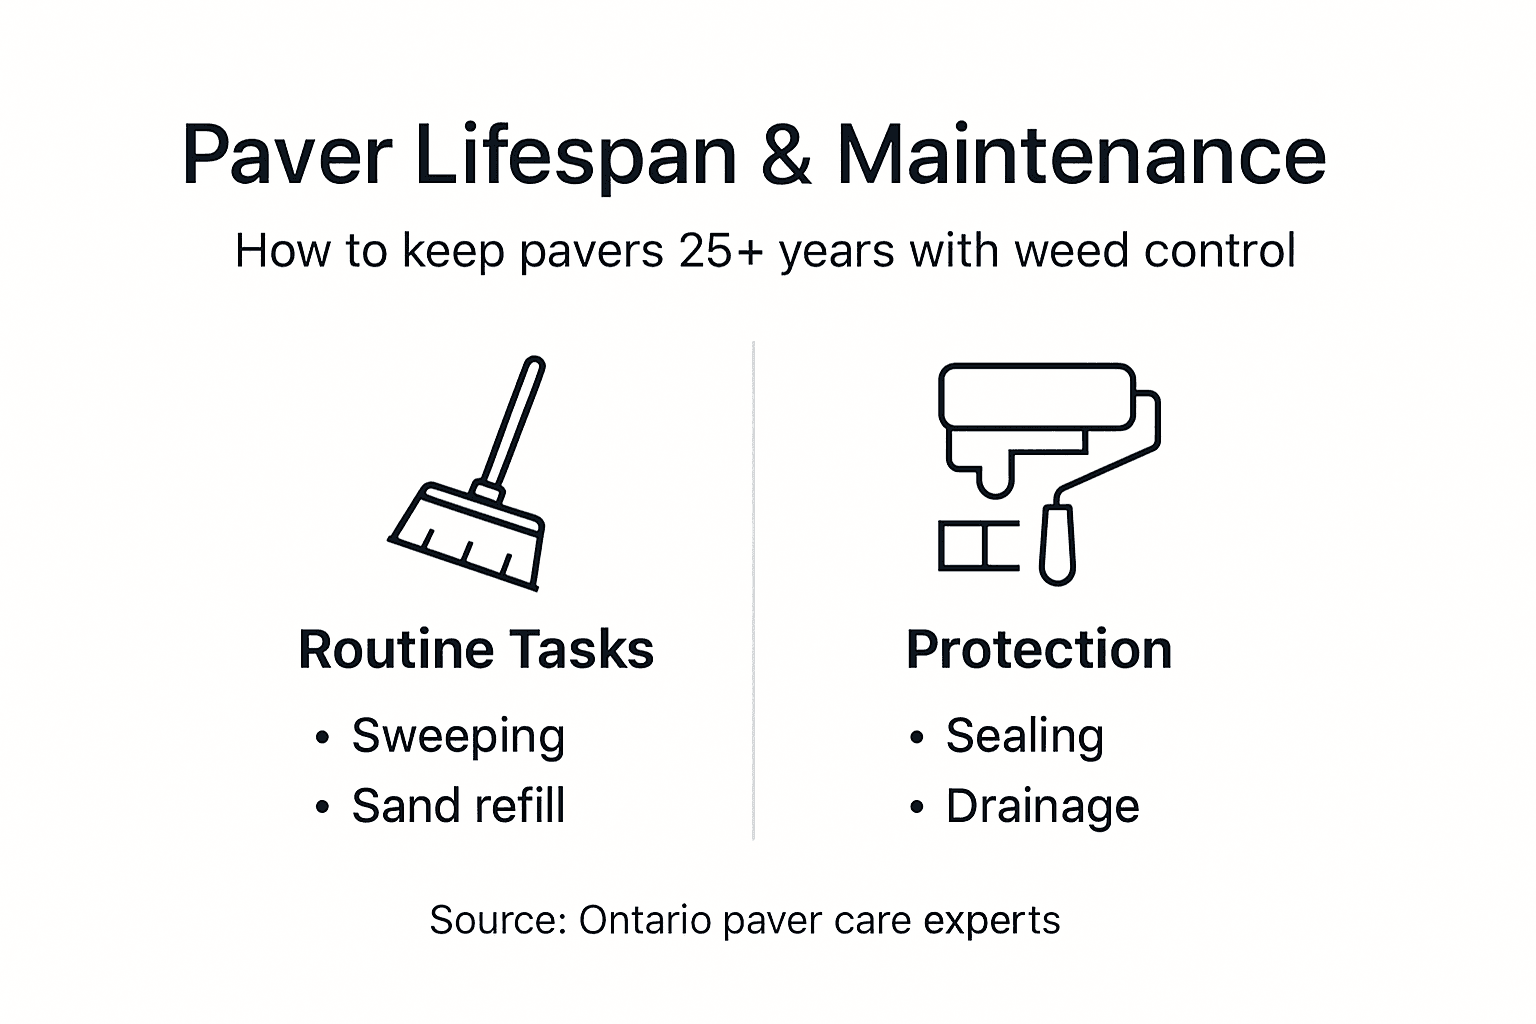
You’ve probably heard you need to seal your interlocking pavers every year to keep them looking good. That’s a costly myth. The truth is proper sealing every 2-3 years extends paver lifespan and prevents stains and weeds without wasting money on unnecessary treatments. Ontario’s freeze-thaw climate demands specific care, but it’s simpler than you think. This guide covers cleaning, joint sand, sealing, seasonal care, and repairs tailored to Etobicoke’s weather.
Table of Contents
Understanding Interlocking Pavers And Ontario’s Climate Challenges
Seasonal Care: Preparing For And Protecting Against Ontario Winters
Common Problems, Misconceptions, And When To Call Professionals
Bringing It All Together: A Practical Homeowner Maintenance Plan
Enhance Your Outdoor Space With Expert Interlocking Services
Key Takeaways
Point | Details |
Sealing schedule | Seal every 2-3 years to protect pavers and inhibit weeds, not annually. |
Cleaning routine | Sweep weekly and wash monthly to prevent dirt buildup and staining. |
Joint sand replenishment | Refill every 1-2 years to maintain stability and lock pavers in place. |
Winter protection | Use plastic shovels and calcium chloride deicers to avoid damage. |
Professional repairs | Call experts when pavers shift, sink, or show significant surface damage. |
Understanding Interlocking Pavers and Ontario’s Climate Challenges
Interlocking pavers work differently than poured concrete. They consist of individual units that move slightly with the ground, preventing cracks during freeze-thaw cycles. This flexibility is critical in Ontario where temperatures swing dramatically between seasons.
The interlocking paver design relies on three layers working together. Your pavers sit on top, but underneath lies the real strength: a bedding layer and compacted base totaling about 9 inches deep. This foundation promotes drainage and stability, essential when water freezes and expands in winter.
Ontario’s climate poses unique challenges:
Freeze-thaw cycles cause ground movement that can shift pavers if the base isn’t properly maintained
Heavy winter precipitation combined with salt erodes joint sand faster than in milder climates
Spring thaws reveal damage from winter neglect, often requiring costly repairs
Interlocking pavers flex with ground movement preventing cracking unlike concrete slabs; base excavation about 230 mm ensures proper drainage. This engineered system works beautifully when maintained but deteriorates quickly when ignored.
Routine Cleaning and Maintenance Practices
Cleaning sounds simple, but doing it wrong causes more harm than good. Your maintenance routine directly impacts how long your pavers look new and function safely.
Start with these essential cleaning steps:
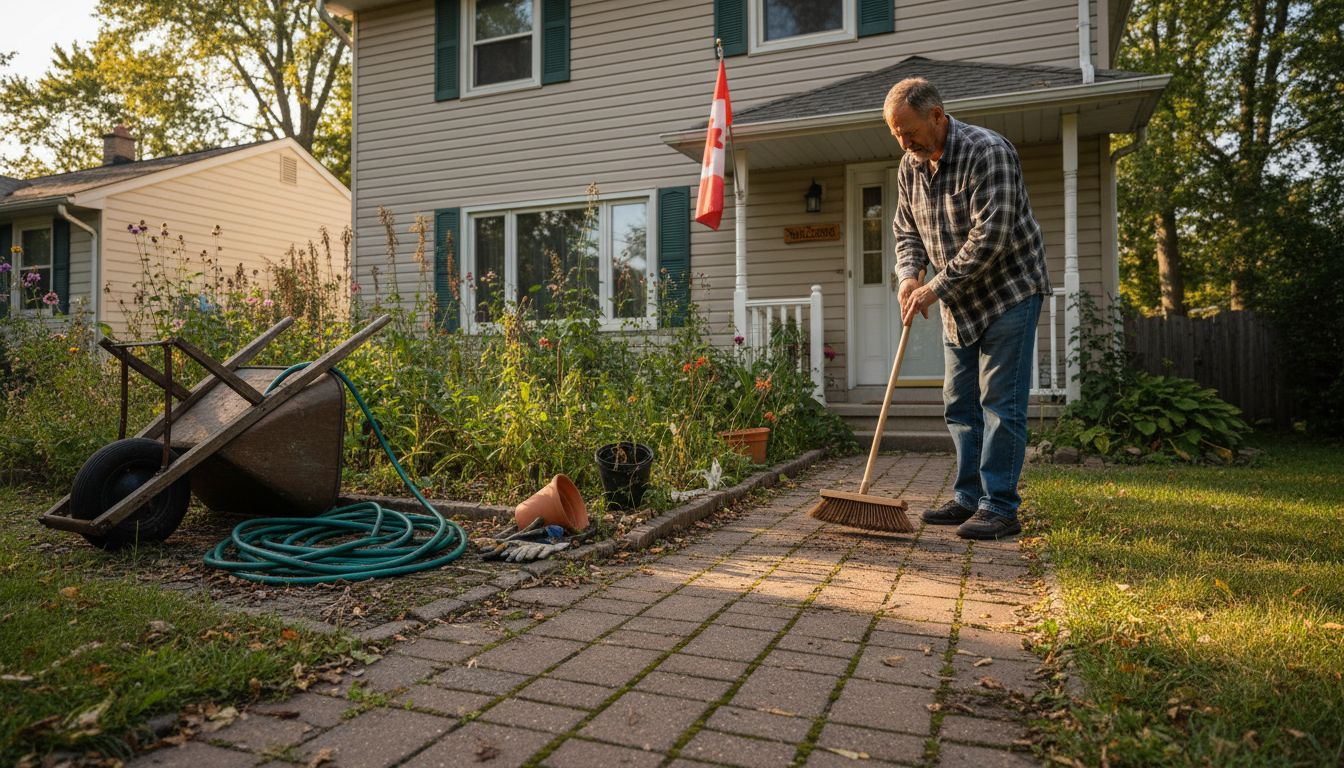
Weekly sweeping and monthly washing with mild detergent help prevent dirt and weed growth by removing debris before it settles into joints
Use a leaf blower or soft broom to clear leaves, dirt, and organic matter that feeds weed seeds
Wash monthly with warm water, mild dish soap, and a soft brush to lift light stains without damaging surfaces
Perform biannual deep cleaning in spring and fall using low-pressure washing with a wide nozzle to avoid surface damage
Rinse thoroughly after washing to prevent soap residue attracting dirt
High-pressure washing tempts homeowners because it works fast. Resist that urge. The intense spray dislodges joint sand, creates surface pitting, and forces water beneath pavers where it shouldn’t go. You’ll spend more fixing pressure washer damage than you save in cleaning time.
Pro Tip: Spot clean stains immediately using appropriate cleaners for the stain type. Oil needs degreaser, rust needs oxalic acid, and organic stains respond to oxygen bleach. Letting stains sit makes them permanent.
Consistent light cleaning beats occasional aggressive scrubbing. Find paver cleaning tips that match your specific paver type and climate conditions for best results.
Joint Sand Maintenance and Weed Control
Joint sand does more than fill gaps between pavers. It locks them together, distributes weight evenly, and prevents shifting that creates trip hazards and drainage problems.
Unfortunately, loss of joint sand from rain and salt causes paver shifting; replenishment every 1-2 years maintains stability. Winter salt and spring runoff wash sand away gradually. You might not notice until pavers start rocking underfoot or weeds appear.

Weed growth frustrates homeowners, but it’s not a sign of poor installation. Weeds sprout when joint sand erodes and creates space for seeds to take root. The solution is maintaining full joints, not blaming your contractor.
Choose the right sand for Ontario conditions:
Polymeric sand contains binding agents that harden when wet, resisting erosion better than regular sand
Kiln-dried sand works well for narrow joints and allows easier replenishment
Never use beach sand or play sand as they lack the angular particles needed to lock properly
Moss and algae present different challenges. Regular moss-inhibiting treatments and improved drainage recommended in damp shaded areas prevent slippery surfaces that become safety hazards. North-facing patios and tree-shaded driveways need extra attention.
Sand Type | Longevity | Weather Resistance | Cost | Best For |
Polymeric | 2-3 years | Excellent | Higher | High-traffic areas, wide joints |
Kiln-dried | 1-2 years | Good | Moderate | Narrow joints, easy touch-ups |
Regular mason | 6-12 months | Fair | Lower | Temporary fixes only |
Pro Tip: Apply sand when pavers are completely dry and sweep diagonally across joints to fill evenly. Mist lightly to activate polymeric sand without washing it away.
Maintaining joints through joint sand maintenance tips prevents most weed problems and extends the time between major maintenance.
Sealing Pavers: Its Importance and Timing
Sealing creates a protective barrier that repels stains, enhances color, and stabilizes joint sand. But timing matters as much as technique.
Sealing 30 days post-install and reapplying every 2-3 years protects against stains, enhances color, and inhibits weeds. Newly installed pavers need time to cure and release moisture trapped during installation. Sealing too early traps that moisture, causing white haze and premature sealer failure.
The right resealing schedule saves money and maintains protection:
Sealing Frequency | Protection Level | Annual Cost | Appearance | Recommendation |
Every year | Excessive buildup | $400-600 | Glossy, unnatural | Wasteful, avoid |
Every 2-3 years | Optimal | $150-250 | Enhanced, natural | Recommended |
Every 5+ years | Degraded | $200-350 | Faded, stained | Insufficient |
Never sealed | Minimal | $0 upfront | Dull, stained | Requires more repairs |
Annual sealing wastes resources and creates problems. Sealer layers build up, trap moisture, and create a thick coating that eventually peels. Every 2-3 years provides continuous protection without overdoing it.
Sealer types matter for Ontario weather. Water-based sealers allow moisture vapor to escape, preventing winter damage from trapped water freezing and expanding. Solvent-based sealers offer stronger protection but require careful application.
Understanding paver sealing benefits helps you make informed decisions about products and timing for your specific installation.
Seasonal Care: Preparing for and Protecting Against Ontario Winters
Winter separates properly maintained pavers from neglected ones. Ontario’s freeze-thaw cycles test every aspect of your installation.
Protect your investment with winter-smart practices:
Plastic shovels and calcium chloride ice melts prevent damage during snow and ice removal, unlike metal shovels and rock salt
Remove snow promptly to prevent ice layers from forming and creating freeze-thaw stress
Apply calcium chloride or magnesium chloride deicers that work at lower temperatures without damaging pavers
Avoid rock salt (sodium chloride) which corrodes paver surfaces and accelerates joint sand erosion
Clear drainage paths to prevent water pooling and freezing on paver surfaces
Metal shovels scrape and chip paver surfaces. Those scratches collect dirt and look worse each year. Plastic shovels with rounded edges clear snow effectively without surface damage.
Salt choice matters more than most homeowners realize. Rock salt is cheap but destructive. It damages paver surfaces, kills nearby plants, and washes away joint sand faster than anything else. Calcium chloride costs more but prevents expensive repairs.
Neglecting maintenance accelerates deterioration and costly repairs; proper care extends lifespan beyond 25 years. Winter neglect compounds every year. Small issues become major projects requiring complete paver removal and base repair.
Pro Tip: Mark your driveway edges before the first snow with reflective stakes. This prevents accidentally shoveling or plowing beyond pavers and damaging joints.
Learn more about winter paver protection strategies specific to Ontario’s challenging climate.
Common Problems, Misconceptions, and When to Call Professionals
Homeowners often believe myths that lead to unnecessary work or actual damage. Let’s separate fact from fiction.
Myth: You need to seal pavers every year for maximum protection. Truth: Over-sealing wastes resources and causes buildup that eventually peels. Every 2-3 years provides optimal protection.
Myth: High-pressure washing cleans pavers better than gentle methods. Truth: High-pressure washing causes damage by dislodging joint sand and etching paver surfaces. Low pressure works better and safer.
Myth: Weed growth means your pavers were installed incorrectly. Truth: Weed growth usually isn’t installation fault but results from joint sand erosion over time.
Recognize when DIY maintenance ends and professional help begins:
Pavers settling or sinking more than half an inch indicates base failure requiring excavation and repair
Large sections shifting together suggest drainage problems or base erosion beneath the surface
Cracks spreading across multiple pavers signal serious structural issues
Persistent water pooling that doesn’t drain within hours points to grade or base problems
Professional maintenance extends paver lifespan beyond 25 years; neglect hastens deterioration by 5-10 years. Waiting too long to address serious issues turns simple repairs into complete reinstallation projects.
Homeowners can handle routine cleaning and joint sand replenishment. But base repairs, drainage correction, and extensive releveling require professional equipment and expertise. Attempting complex repairs yourself often makes problems worse.
Find reliable guidance on professional paver repair to understand when expert intervention protects your investment.
Bringing It All Together: A Practical Homeowner Maintenance Plan
Now you understand why each maintenance task matters. Here’s your complete schedule organized by frequency:
Monthly Tasks: Sweep all paved surfaces to remove dirt, leaves, and debris; wash with mild detergent and soft brush to prevent stain buildup
Seasonal Tasks (Spring/Fall): Perform low-pressure deep cleaning to remove winter residue or summer buildup; inspect joints for erosion and damage; check for any settling or shifting
Every 1-2 Years: Replenish joint sand in worn areas to maintain paver lock and prevent weed growth; assess overall condition and address minor repairs promptly
Every 2-3 Years: Seal pavers to protect color vibrancy, resist stains, and stabilize joint sand against erosion
Winter Season: Use only plastic shovels for snow removal; apply calcium chloride deicers instead of rock salt; remove snow promptly to prevent ice buildup
As Needed: Schedule professional assessment immediately when you notice shifting, sinking, persistent drainage issues, or spreading cracks
Routine maintenance and professional assessments can extend pavement lifespan beyond 25 years while minimizing major repairs. The cost of prevention is always less than the cost of restoration.
Create a simple calendar reminder system. Set monthly alerts for sweeping and washing, seasonal reminders for deep cleaning and joint inspection, and annual notes to assess sealing needs. This systematic approach prevents neglect and catches problems early.
Your pavers represent a significant investment in your home’s value and curb appeal. Following this paver maintenance schedule protects that investment while keeping your outdoor spaces beautiful and safe year-round.
Enhance Your Outdoor Space with Expert Interlocking Services
Maintaining your interlocking pavers becomes easier when you start with professional installation and have access to expert guidance. Whether you’re planning a new patio, driveway, or walkway, working with experienced professionals ensures proper base preparation, correct installation techniques, and realistic maintenance expectations.

Interlocking Etobicoke has served Etobicoke, North York, and Toronto for over 20 years, transforming outdoor spaces with premium interlocking solutions. Our projects combine durability with design, creating functional spaces that bring families together while elevating curb appeal.
Explore our resources to learn more about interlocking patios and their versatility, review our comprehensive driveway installation guide for planning your project, or discover how professional interlocking services in Etobicoke can transform your outdoor vision into reality. Our team provides personalized consultations to match your specific needs, climate challenges, and aesthetic preferences.
Frequently Asked Questions
When is the best time to reseal pavers?
Reseal your pavers in late spring or early fall when temperatures stay between 50-80°F consistently. Avoid sealing in direct hot sunlight or before rain, as both affect curing. The 2-3 year resealing cycle means you’ll typically reseal every other year in optimal weather.
Can I use any sand for joint replenishment?
No, regular play sand or beach sand won’t work properly. Use polymeric sand for best results in Ontario’s climate, or kiln-dried mason sand for narrow joints. Both types have angular particles that lock together, unlike rounded sand that shifts easily and washes away.
How do winter salts affect my pavers?
Rock salt accelerates joint sand erosion, damages paver surfaces through chemical reactions, and harms surrounding plants and soil. It also lowers the freezing point of water, creating more freeze-thaw cycles that stress your pavers. Switch to calcium chloride or magnesium chloride deicers for safer winter protection.
What tools are safest for winter snow removal?
Plastic shovels with rounded edges remove snow effectively without scratching or chipping paver surfaces. Avoid metal shovels, metal-edged snow blowers, and ice choppers that gouge surfaces. For large areas, use a snow blower with adjustable height to avoid direct contact with pavers.
When should I call a professional for repairs?
Call immediately when pavers sink more than half an inch, large sections shift together, water pools persistently, or cracks spread across multiple pavers. These signs indicate base or drainage failure that DIY methods can’t fix. Early professional intervention prevents minor issues from becoming complete reinstallation projects.
Recommended
Comments